

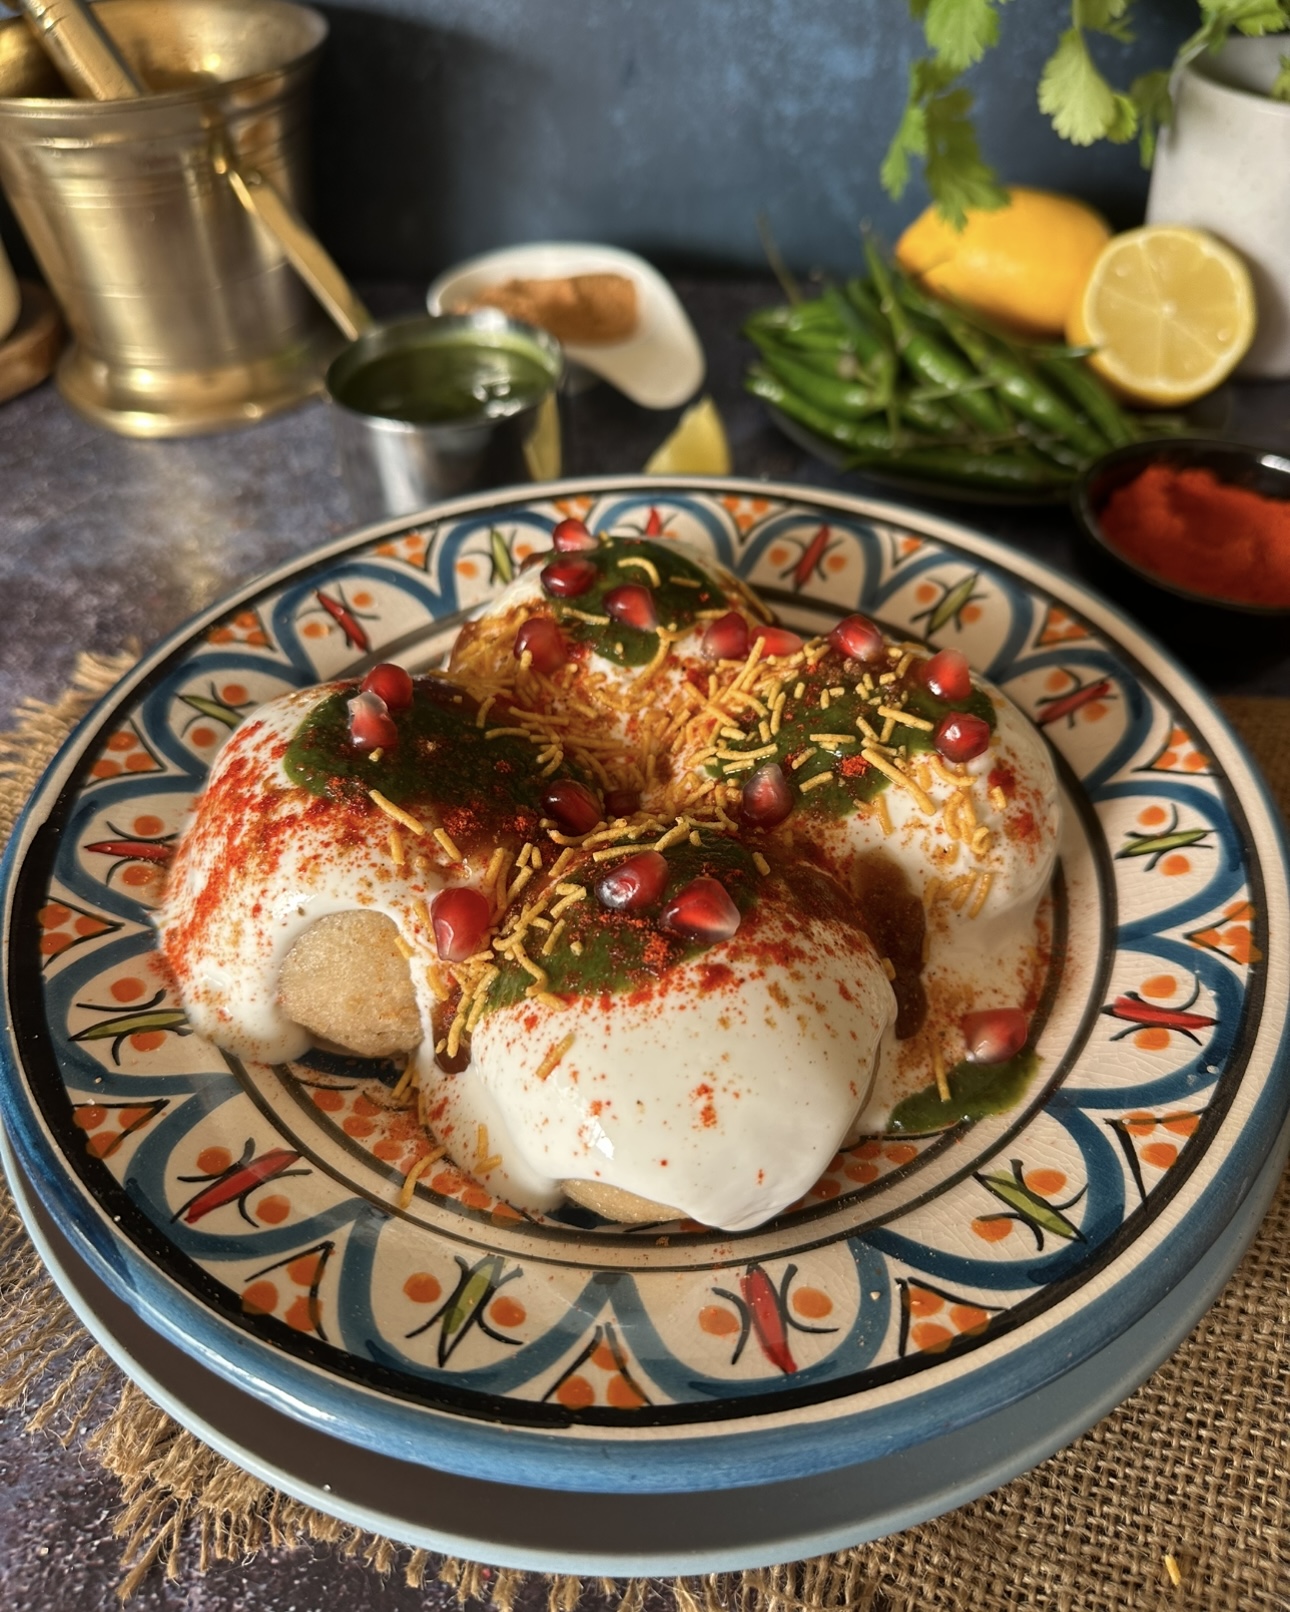

KATORI CHAAT
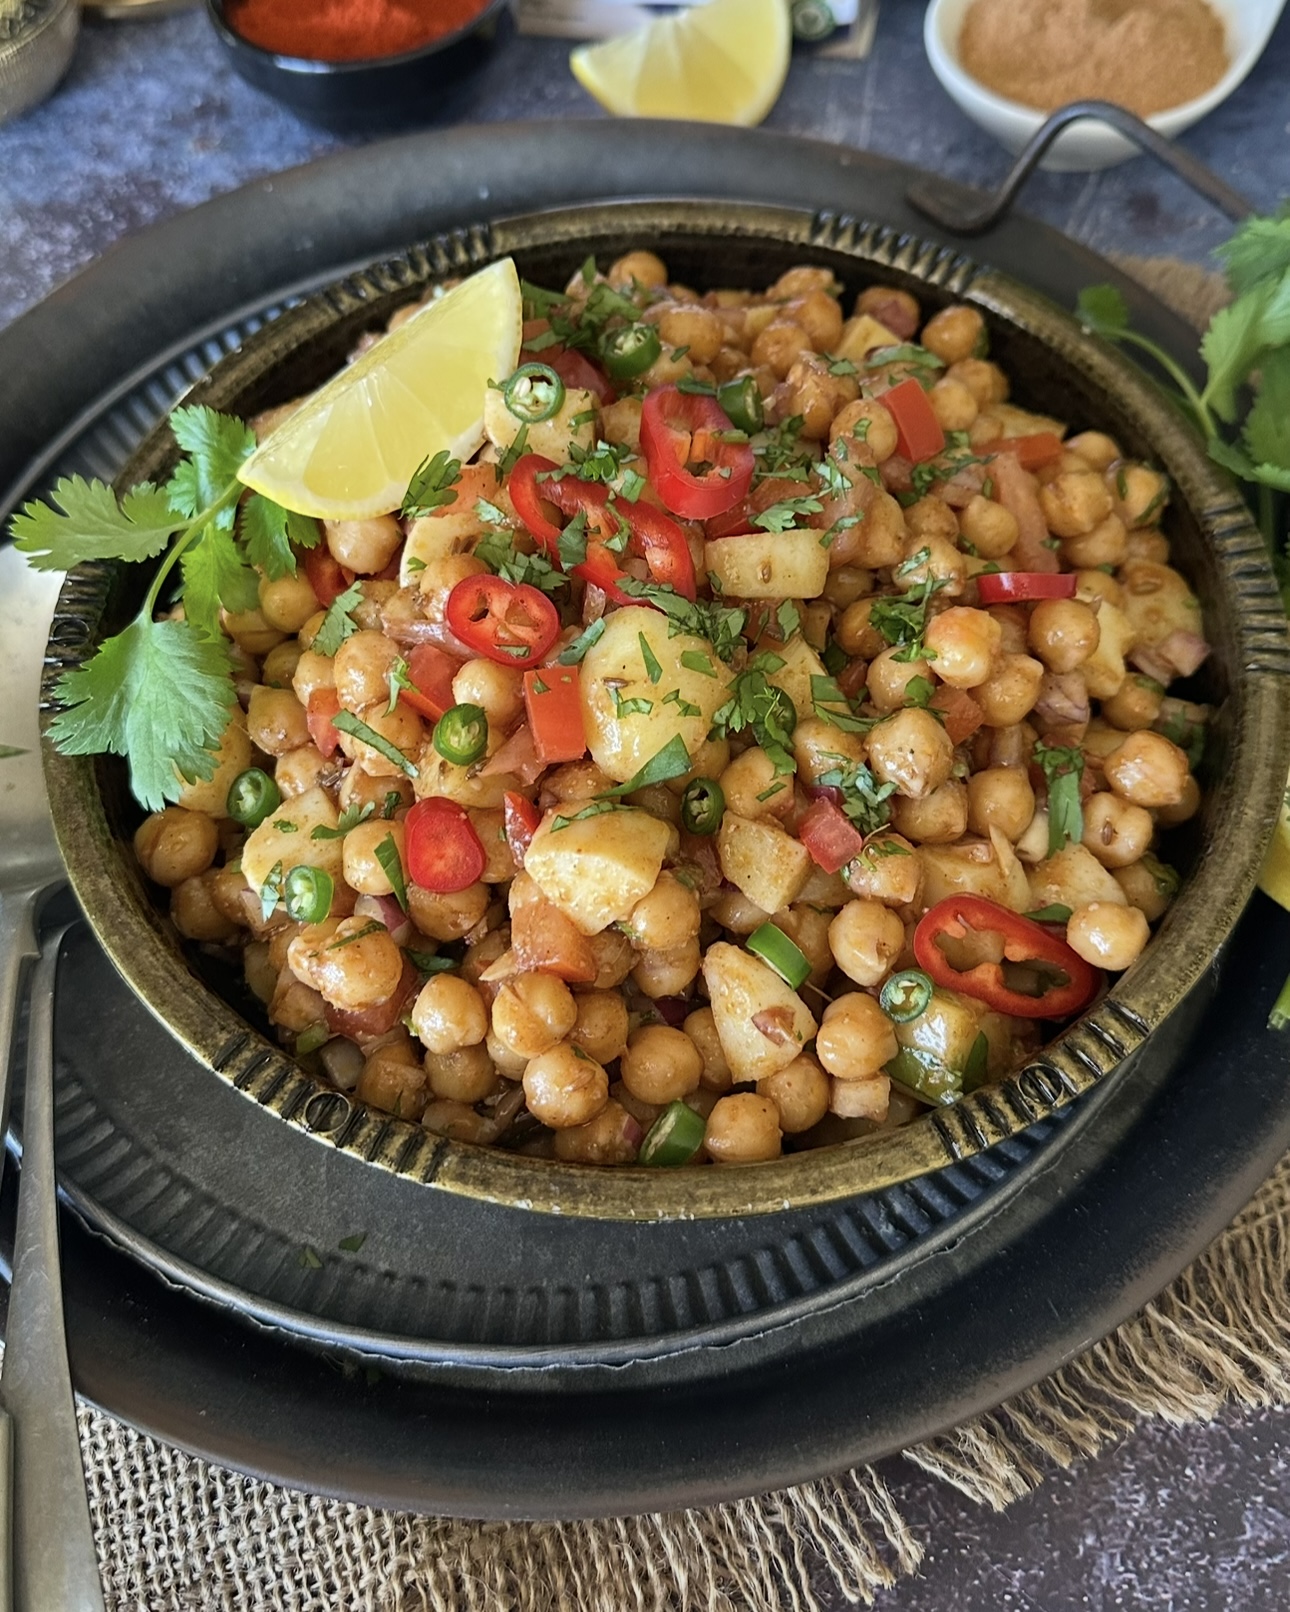
Delight in every bite of this crispy Katori Chaat! This mouthwatering dish features a crispy, golden-brown dough bowl (katori) filled with a medley of boiled chickpeas, tender potatoes, fresh vegetables, and creamy yogurt. Topped with tangy plum , minty raita and tamarind chutneys, a sprinkle of chaat masala, and crunchy bhujia and Bombay mix, each katori is a burst of flavor in every bite. Perfect as an appetizer or a light snack. Serve it fresh and enjoy the harmony of tastes and textures that make this dish a true celebration.

For the Katori (Dough Bowl):
For the Filling:
For the Toppings:
For Seasoning:
Instructions
Prepare the Katori (Dough Bowl):
-
-
- In a mixing bowl, add the plain flour, sunflower oil, and a pinch of salt. Mix well until the mixture resembles breadcrumbs.
-
- Gradually add water little by little, mixing continuously until a soft dough forms. Knead the dough for about 5-7 minutes until smooth.
-
- Cover the dough with a damp cloth and let it rest for about 15-20 minutes.
-
- After resting, divide the dough into small balls (about the size of a golf ball). On a lightly floured surface, flatten each ball with a rolling pin to about 2 mm thickness.
-
- Prick the flattened dough with a fork to prevent puffing.
-
- Take a small, flat-bottomed bowl and wrap the dough around it, pressing gently to form the shape of a bowl. Trim any excess dough from the top using a knife.
-
- Heat oil in a deep frying pan over medium heat. Once the oil is hot, carefully place the dough katori in the oil. When it separates from the bowl, remove the bowl and continue frying the katori until it turns golden and crispy.
-
- Remove the katori from the oil and place it on a paper towel to absorb excess oil. Allow it to cool down.
Prepare the Filling:
-
-
- In a bowl, combine the boiled chickpeas, boiled and cubed potatoes, chopped onion, cucumber, tomato, and beetroot. Add salt to taste.
Assemble the Katori Chaat:
-
-
- Take a cooled katori and add 2 tbsp of the chickpea and potato mixture to the bottom.
-
- Add 1 tbsp of yogurt, 1 tbsp of plum chutney, 1 tsp of raita, and 1 tsp of tamarind chutney on top.
-
- Sprinkle chaat masala and paprika over the top.
-
- Top with plain bhujia and Bombay mix. Garnish with chopped coriander leaves and green chillies.
-
- Serve the Katori Chaat immediately while the katori is crispy. Enjoy the burst of flavors with every bite!
Nutrition Facts
Servings 8
- Amount Per Serving
- Calories 333.54kcal
- % Daily Value *
- Total Fat 6.35g10%
- Saturated Fat 1.39g7%
- Cholesterol 4.86mg2%
- Sodium 482.06mg21%
- Potassium 514.84mg15%
- Total Carbohydrate 61.06g21%
- Dietary Fiber 5.22g21%
- Sugars 18.64g
- Protein 10.36g21%
- Vitamin A 33.96 IU
- Vitamin C 38.96 mg
- Calcium 88.84 mg
- Iron 1.94 mg
- Vitamin D 0.03 IU
- Vitamin E 1.87 IU
- Vitamin K 9.51 mcg
- Thiamin 0.19 mg
- Riboflavin 0.14 mg
- Niacin 1.32 mg
- Vitamin B6 0.29 mg
- Folate 142.15 mcg
- Vitamin B12 0.13 mcg
- Phosphorus 158.85 mg
- Magnesium 45.27 mg
- Zinc 1.2 mg
* Percent Daily Values are based on a 2,000 calorie diet. Your daily value may be higher or lower depending on your calorie needs.
Note
The dough should be soft but not sticky. Ensure you knead it well to develop gluten, which helps in achieving a crisp texture.
If the dough is too dry, it may crack while rolling. If too wet, it won’t hold its shape during frying.
Allow the dough to rest for at least 15-20 minutes after kneading. This helps relax the gluten, making it easier to roll out and shape without breaking.
Roll the dough evenly to about 2 mm thickness. If the dough is uneven, some parts may cook faster than others, leading to uneven crispness.
Dust your work surface and rolling pin with flour to prevent sticking, but avoid using too much flour, as this can affect the final texture.:
Prick the rolled-out dough with a fork before frying. This prevents the katori from puffing up and helps it maintain its shape during frying.
Heat the oil to the right temperature (around 350°F or 180°C). If the oil is too hot, the katori will brown quickly but remain uncooked inside. If it’s too cold, the katori will absorb excess oil and become greasy.
To test the oil, drop a small piece of dough into it; it should sizzle and come to the surface immediately.
Use oils with a high smoking point, like sunflower oil, vegetable oil, or canola oil, for frying. This will ensure that your katori get crispy without burning.
Carefully place the shaped katori in the hot oil. You can gently press it down with a slotted spoon to help it hold its shape while frying.
Once they start to separate from the bowl, remove the bowl and continue frying until golden brown and crispy.
Once fried, drain the katori on paper towels to absorb excess oil. This helps keep them crispy and prevents them from becoming soggy.
Allow the katori to cool completely before filling them. This will help maintain their crispiness longer.
If making in advance, store the fried katori in an airtight container at room temperature. Avoid refrigerating as moisture can make them soggy. Enjoy them within a day or two for the best texture.
Assemble the katori chaat just before serving. The longer the filling sits in the katori, the softer the katori will become. Serve them immediately to enjoy the contrast of crispy katori and flavorful fillings.