KHOYA
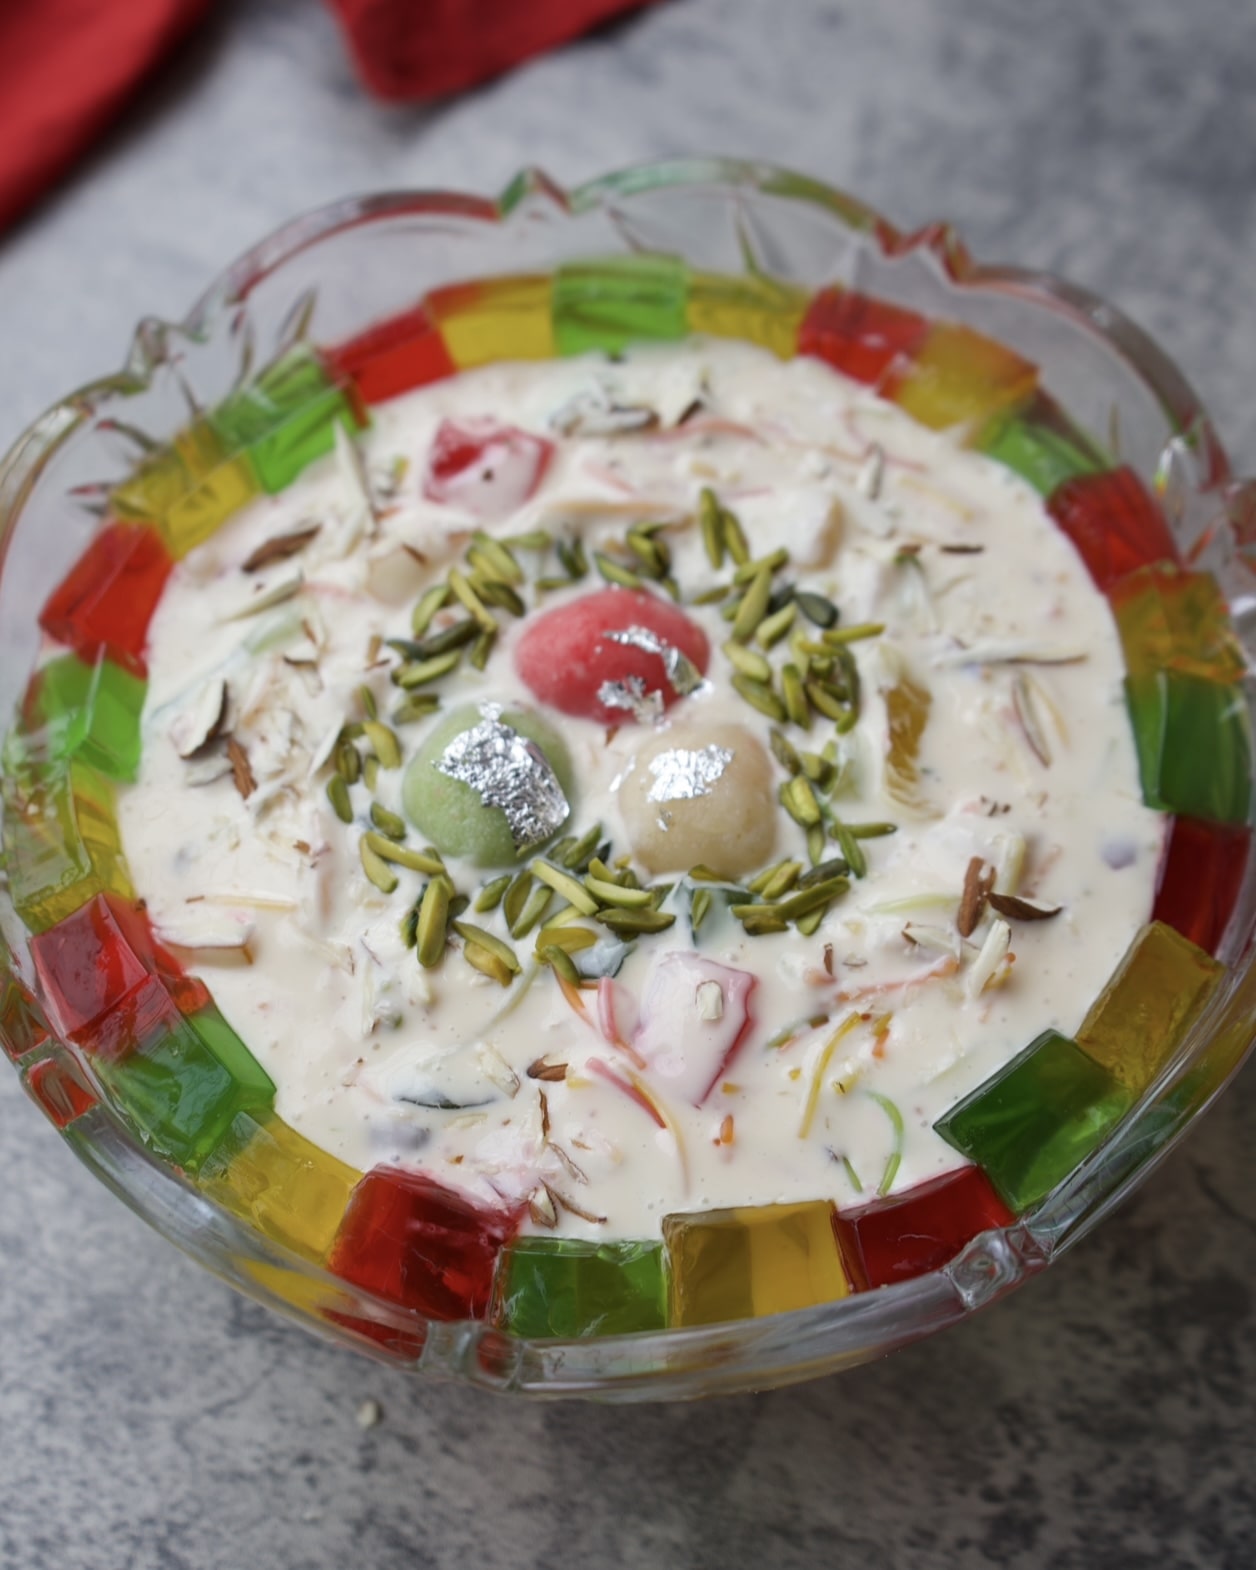
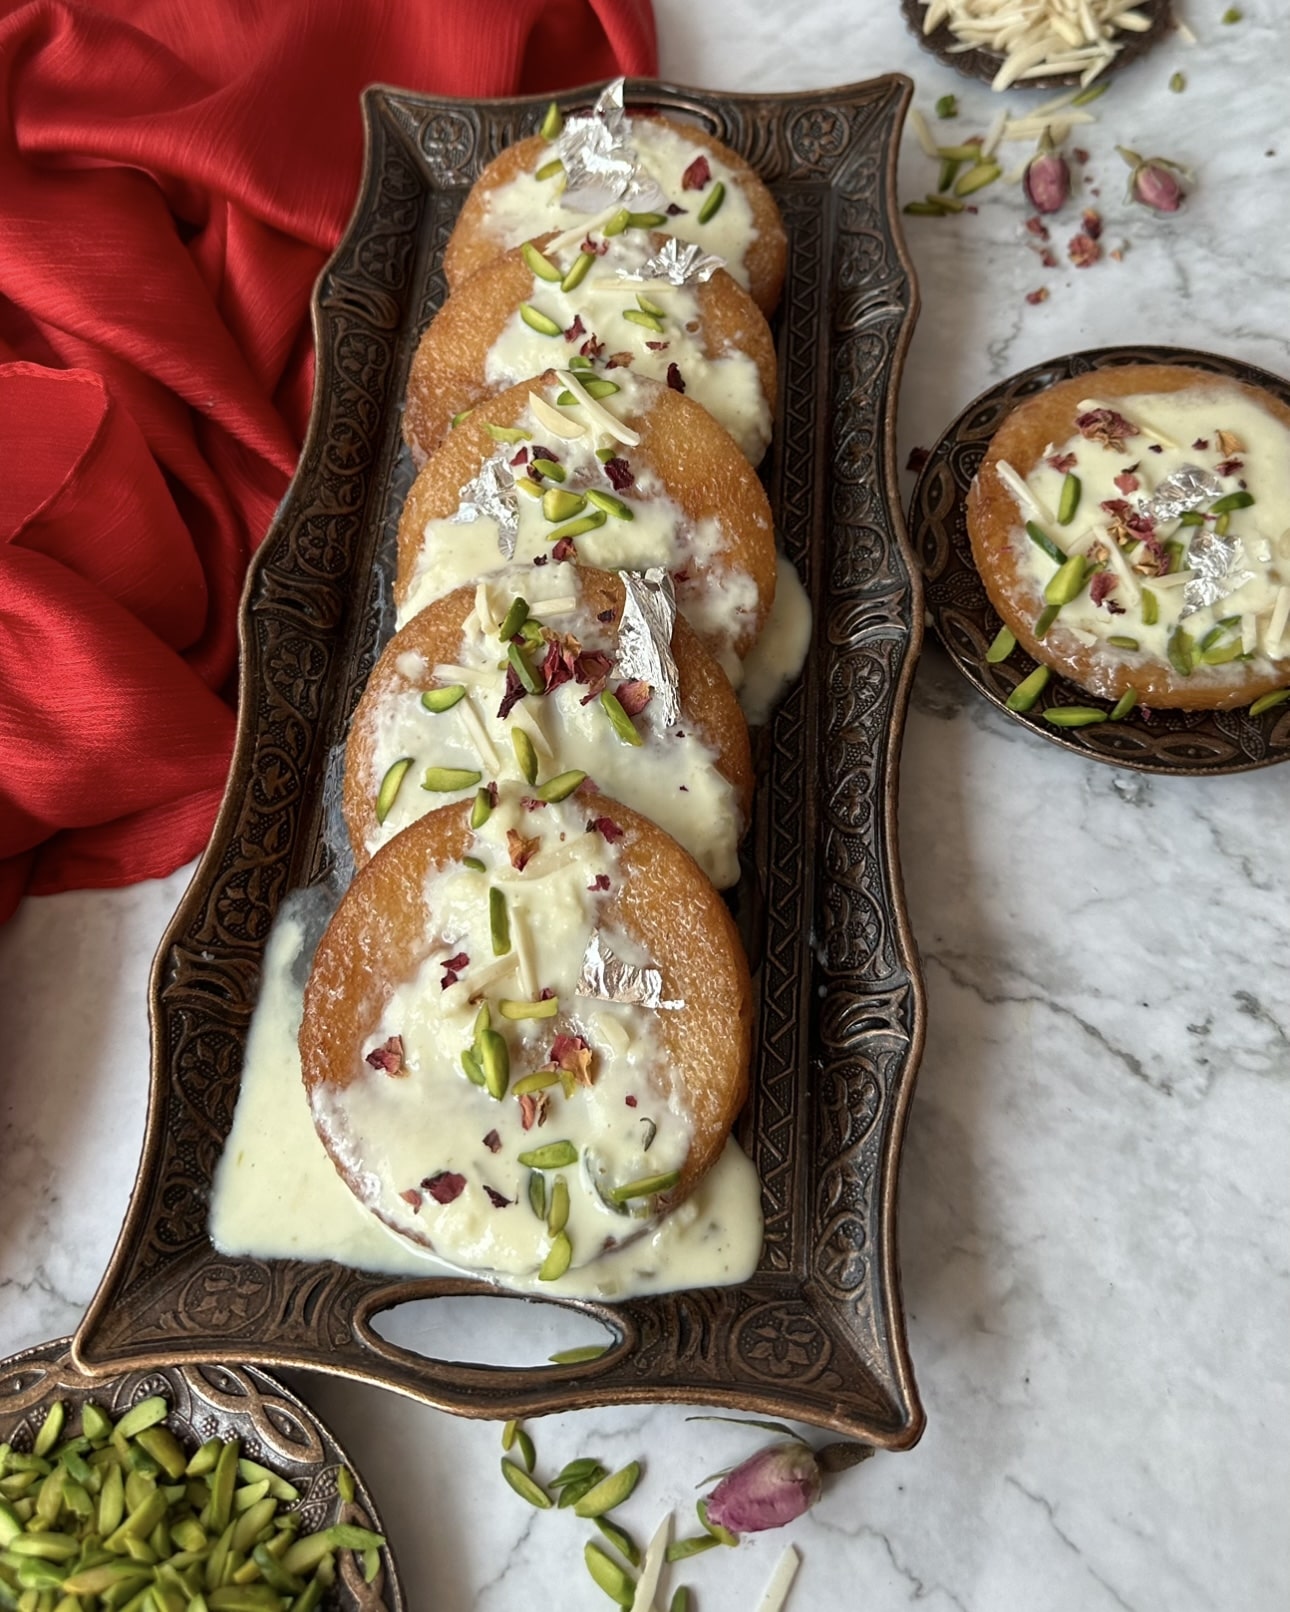
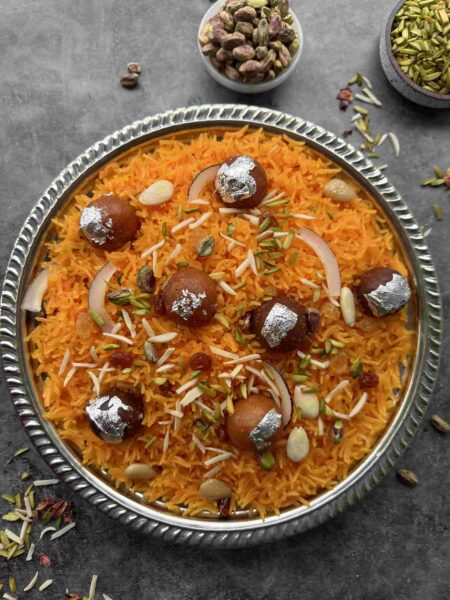
Khoya, also known as mawa, is a traditional south asian dairy product made by simmering whole milk until it thickens and reduces, resulting in a rich, creamy texture. It plays a crucial role in sweets or desserts, adding depth and flavor to sweets like kheer, gulab jamun, and burfi. With its slightly grainy consistency and sweet, milky taste, khoya is not just an ingredient, but an essential element that elevates the whole recipe of sweets. Making khoya at home requires patience and attention but the results are incredibly rewarding.Enjoy the delightful taste of homemade khoya in your favorite recipes!
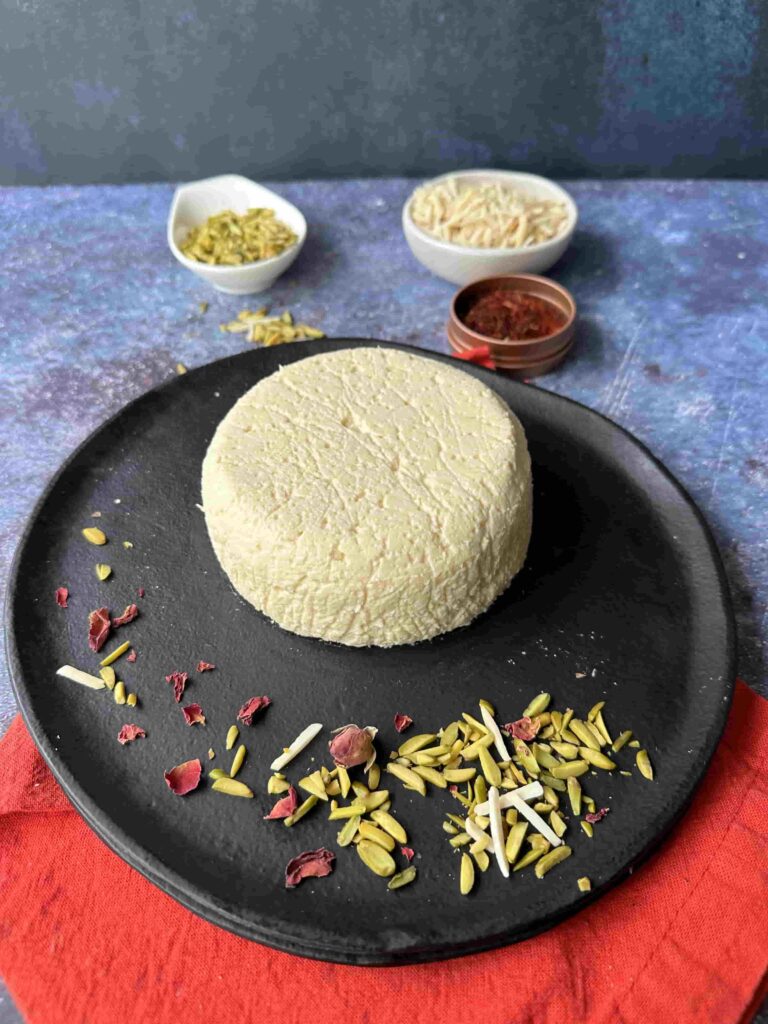
Ingredients
Instructions
Preparing the Milk
-
Use a large, thick, heavy-bottomed pan to prevent the milk from burning and to ensure even heat distribution.
(a non-stick pan can also be used but is not necessary)
-
Measure out 2 to 3 liters of fresh, full-fat whole milk and pour it into the pan. Using fresh milk will yield better results in terms of flavor and texture.
-
Place the pan on the stovetop over low to medium heat.
-
Gradually increase the heat to bring the milk to a gentle boil. Do not rush this process; heating the milk slowly helps prevent it from scorching.
-
Stir the milk every minute or so with a long spoon to ensure it heats evenly and doesn’t stick to the bottom.
-
After a few minutes, you will notice the milk beginning to froth. Keep stirring until the milk reaches a rolling boil, where you see large bubbles forming and rising to the surface.
Simmering the Milk
-
-
As the milk simmers, it will froth a lot, and a thin layer of cream will form on top. This is normal.
-
Stirring: Stir the milk every 5-10 minutes to keep it from sticking to the bottom of the pan. You can use a spatula or a ladle to scrape down any milk solids that accumulate on the sides of the pan.
-
When you see the cream layer forming, gently scrape it off and stir it back into the milk. This helps to incorporate the rich flavors into the khoya.
-
Keep simmering the milk. As the moisture evaporates, you will notice the volume of the milk reducing. The milk will thicken, and you’ll start to see bubbling and frothing decrease gradually.
-
After about 30-45 minutes of simmering, observe the consistency. It should start resembling a thick, creamy texture similar to rabri.
Final Reduction:
-
-
When the milk has reduced significantly, turn the heat to the lowest setting.
(usually after about 1 hour 45 minutes) -
At this stage, you must keep a close watch since the milk can stick to the bottom and burn easily. Stir continuously to prevent this.
-
You will notice that the bubbles in the milk will start to become less frequent. When you see no more bubbles bursting (indicating that most of the moisture has evaporated), you have reached the first stage of khoya.
-
At this point, turn off the heat. The khoya will still be runny but thick.
-
Allow the khoya to cool in the pan for about an hour. Then transfer it to a plate or bowl to cool completely. It will thicken further and firm up over the next 2-3 hours at room temperature.
-
Once the khoya has cooled completely, you can refrigerate it for up to 3-4 days or freeze it for later use. It’s best to use it fresh in dishes like kheer or other Indian desserts.
Further Cooking for Khoya:
-
-
If you desire a thicker khoya with less moisture, continue to cook the khoya after the first stage. You will notice it turning grainy and resembling curdled milk.Till here took 2 hours 15 minutes.
-
Turn off the heat, let it cool down about an hour in a same pan after transfer the khoya to a bowl. Allow it to set uncovered at room temperature for 6-8 hours. This allows it to dry out further and develop a firmer texture.
If you are leaving overnight on countertop, lightly cover with muslin cloth. -
-
After the khoya has set at room temperature for 6-8 hours, you can store it. Transfer the khoya to an airtight container and refrigerate it for up to 6 days.
-
If you’d like to freeze it for later use, place it in a sealed zip-lock bag or an airtight container. It will remain good for up to a month when frozen.
-
(Optional); If you want your khoya to have a slightly darker color, return it to the pan and cook it for an additional 15 minutes over low heat. This will give it a light brown hue and enhance the flavor.
-
Stir continuously during this time to prevent it from sticking or burning, as the milk solids will be more prone to scorching at this stage.
-
Once the desired color and consistency are achieved, turn off the heat and let it cool in the pan for about 30 minutes.
-
Afterward, transfer the khoya to a plate or bowl and allow it to cool completely at room temperature.
-
Transfer the khoya to an airtight container and refrigerate it for up to a week.
-
If you’d like to freeze it for later use, place it in a sealed zip-lock bag or an airtight container. It will remain good for up to a month or two when frozen.
Note
• Use fresh khoya in your desserts for a rich and creamy taste.
• You can also use khoya as a filling in pastries or as a topping for various sweets.
• Add khoya to savory dishes for added richness, such as in some curries.


